If you're on the hunt for a budget-friendly dash cam that doesn't withhold on features, you might want to consider leveraging the power of a Raspberry Pi dash cam combined with an AutoPi TMU device.
This guide is your ticket to installing a feature-packed Raspberry Pi dash cam into your vehicle using components that won't break your bank. By the end of this walkthrough, you'll have your very own car security camera, the ability to capture your road trips, keep tabs on your car's vitals, and tap into some other cool features.
Forget the complex dash cam setups that you have wrestling with your vehicle's fuse box. Our approach is straightforward. Just connect a USB camera to your Raspberry Pi, and voilà, you're all set.

What is a Raspberry Pi Car Camera?
Before we jump into the how-to, let's break down the basics.
What exactly is a Raspberry Pi car camera? It's a crafty little setup where your Raspberry Pi doubles as a dash cam, quietly recording the road ahead while you handle the wheel. You hook it up to your car's power through something as simple as your USB port or cigarette lighter.
Dash cams are all the rage right now, and for good reason. They got your back if you ever get into a jam on the road and need to show what really went down. But they're not just about the gritty stuff — they're also there to capture those "wow" moments on scenic drives.
And storage? No sweat. Typically, dash cams come with enough room to keep your travels on record. Throw a Raspberry Pi into the mix, and you've got yourself a super smart car camera that's not just recording — it's practically co-piloting.
Hang around, and we’ll take you through setting up your Raspberry Pi as a dash cam and give you the lowdown on all the cool features you can expect.
5 reasons why you should have a Raspberry Pi dash cam:
Still considering a dash cam for your car? A Raspberry Pi dash cam is a smart pick, offering custom features and tech fun at a fraction of the cost. Here’s why it’s a great option:
-
Accident Proof: A Raspberry Pi dash cam records your drive, offering evidence if you're every in a crash - handy for insurance and legal claims.
-
Custom Settings: Tweak your dash cam's software to get the perfect video quality, from resolution to frame rate.
-
Extra Features: Pair it with an AutoPi for GPS, Wi-Fi, and even keyless entry — track your trip and keep your car secure.
-
Budget-Friendly: It's a wallet-friendly option compared to traditional dash cams, using components that won't strain your budget.
-
DIY Fun: Installing a Raspberry Pi dash cam is a techy hobby project that boosts your tech skills and lets you create a unique gadget.
Now that we covered some of the benefits and what a dash cam is, let's dive into what you will need and how to install a dash cam in your car.
Here is what you need to get started
Usually, it is recommended to use a specific type or model of the dash cam. However, you can use any dash cam that can be connected to the AutoPi device via micro USB, as long as it is compatible with Raspberry Pi.
If you want to search for cameras yourself, we recommend trying to search for the best dash cams, USB cameras, or in-car cameras to see different comparisons and opinions on the market.
We have also researched, which cameras are compatible with Raspberry Pi and we have a list below. However, most of them are classic web cameras, which might be more difficult for you to mount in the vehicle and won't support HD or 4k quality.
You will need to get several supplies to complete this task. But don’t worry, we will help you with that.
Here is what you need:
-
A Raspberry Pi-compatible dash cam
-
Velcro strips to mount your AutoPi device.
-
Extension OBD2 cable to connect your vehicle with the AutoPi device.
-
here's how to find the OBD2 port in your car.
-


How To Install a Raspberry Pi Dashcam
Connecting a dash cam or any USB camera to your AutoPi device is extremely easy. Most dash cam requires you to connect cables to the fuse box. You do not need to worry about that. Simply connect your dash cam to the AutoPi.
Now that you have a dash camera and all accessories ready. All you need to do is to follow the steps below to connect your dash cam to the AutoPi device.
-
Mount the camera to your dashboard or the specific area you want to place your camera.
-
Set up wiring - depends if you want to have a dash cam on the top of your front window or bottom (the bottom usually requires less wiring).
-
Connect the cables to your camera and place it on the location.
-
Connect the other half of the cables to the AutoPi device and plug it into the vehicle's OBD2 port.
-
Set up your Raspberry Pi dash cam with the AutoPi device, here's how.
-
Enjoy!

Yes. it’s that easy. However, a couple of complications might occur, depending on the type of camera and your vehicle.
This is how we set up our Raspberry Pi dash cam
To make this guide even more informative and provide you with all the information, we have also tried one of our in-house web cameras.
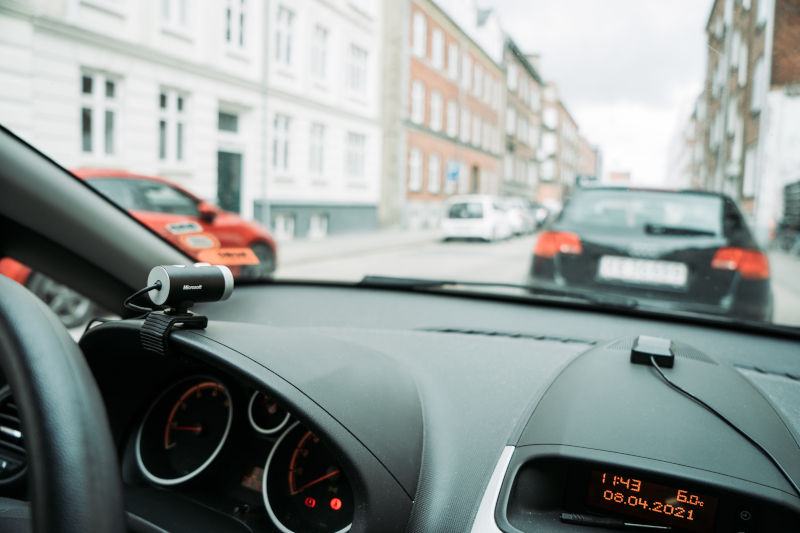
We have easily mounted the web camera on top of the dashboard (see the pictures below). Then we connected the web camera with the AutoPi device and plugged in the device to the OBD2 port of the vehicle.
See the web camera setup below.

The AutoPi dashboard
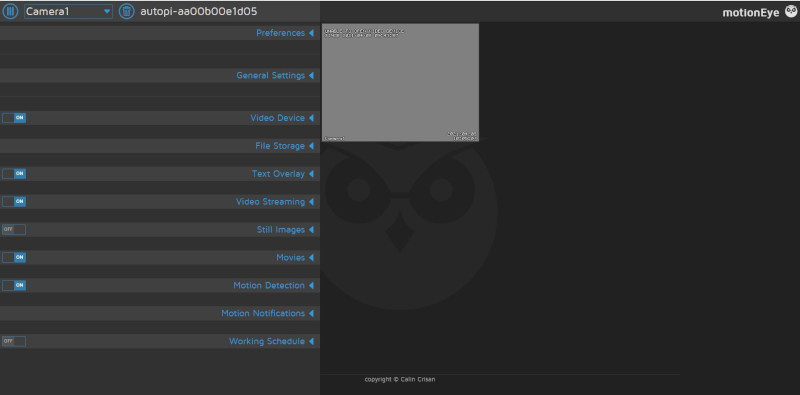
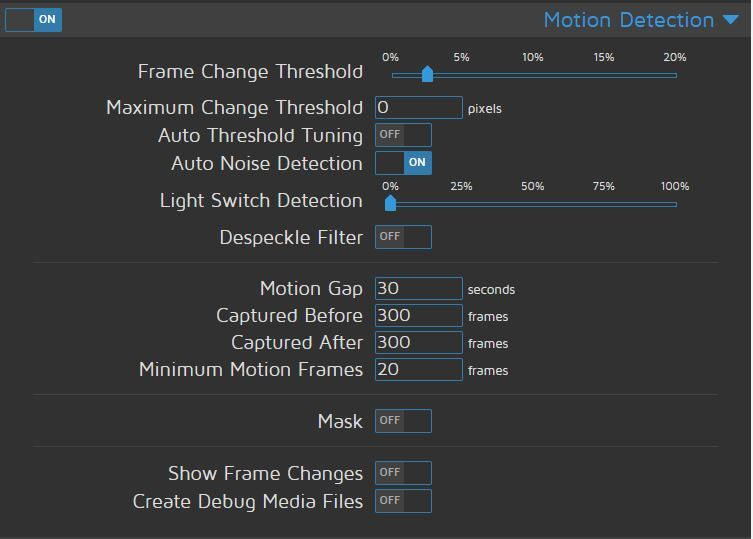
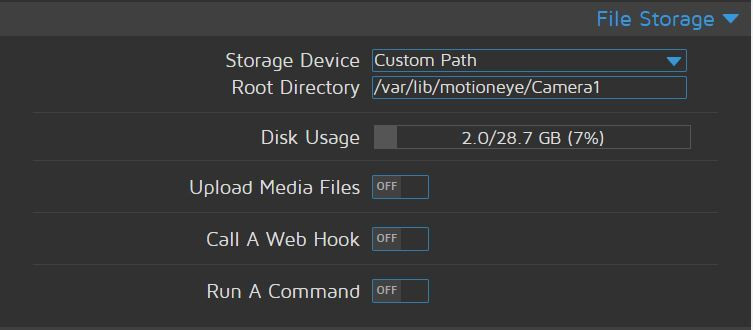
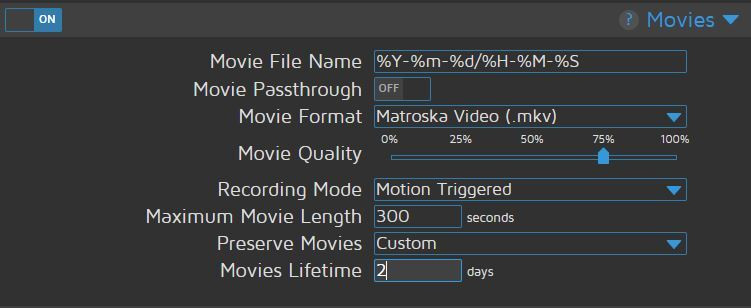
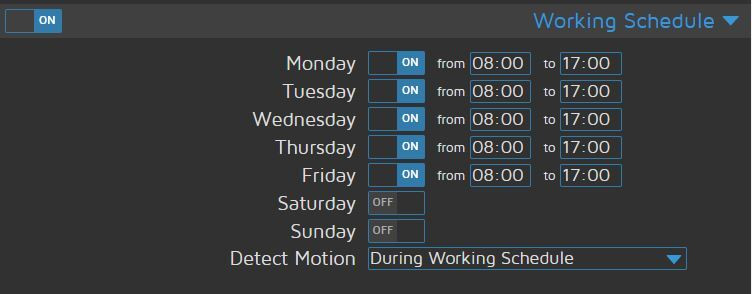
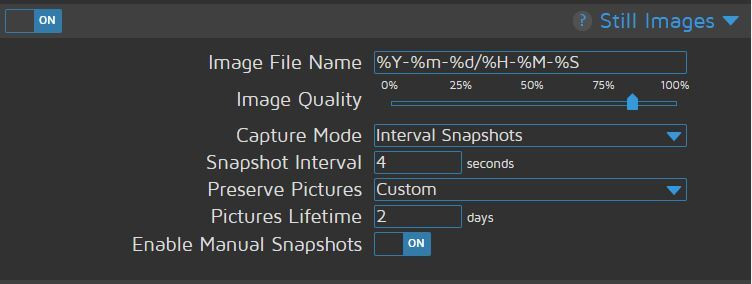
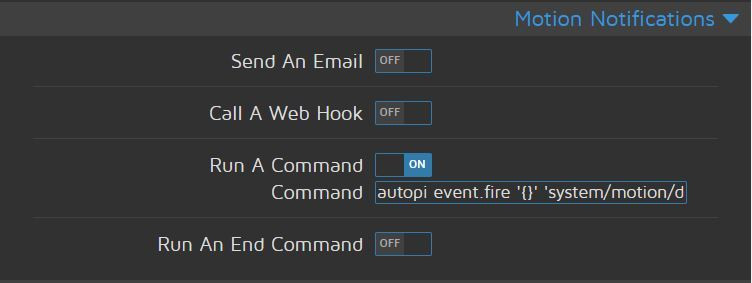
Here are the actual screenshots of the AutoPi dashboard. You can easily set it up based on your preferences.
|
|
|
|
|
|
|
|
|
|
|
|
We recommend watching these two videos below that easily showcase how to install and hide your dash cam wires. See the videos below.
We hope you found the article insightful and that you were able to install your dash cam, as well as connect it to the AutoPi. If not, do not hesitate to get in touch with us.
In case, you are missing some information or want to see a detailed guide on how to install a dash cam with AutoPi, check out the detailed guide here.


